flames.
To start creating my scene I placed two planes down, one as the floor and the other as the side wall. The third wall is a thin box object. The reason I made this a box and not a plane was because I wanted to boolean a hole as a window on this wall. Using the line tool I made a wooden box area around the window and cloned it three times resizing it and placing them around the window, making the window appear more
realistic.
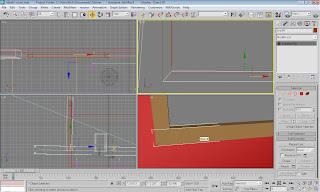
The computer desk, bed and shelving units were made by editing polys of box's, indenting the front polys and extruding back to make the cupboards. The handles were made by small spheres. For the bed covers and pillow I wanted to look soft so for the pillow I applied a mesh smooth texture, tweaking the amount of segments to get the right look. The bed covers were made by a cloth reactor modifier which I
applied to a plane. This causes the plane to become like fabric and flop over a surface underneath it. I applied a high amount of segments on the fabric plane so the cloth realistic folds over the surface below. Also making sure not to put in too many otherwise the fabric doesn't stay on the surface. I found a texture on the internet that I thought would suit the bed covers and pillow.
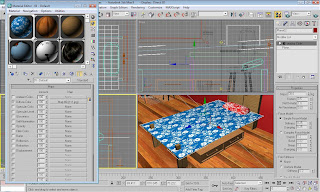
When making the computer screen I made a thin rectangle box object and indented the middle and extruded the polys backwards to create the screen. With the right amount of segments within the box object the mesh smooth modifier only applies a slight rounded effect which suits the computer monitor. For the desktop background on the computer I screen I print screened my own personal desktop background, resized the
image within Photoshop and applied it as a texture to the screen polys. The stand was created by applying a meshsmooth modifier on a thin cylinder with a small box connecting it to the screen.
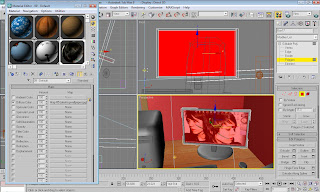
The actual computer is another box with a mesh smoother modifier applied to create a rounded effect. The disk drives and buttons were box and cylinder shapes.
The keyboard was a thin rectangle shaped box object indented in the middle and extruded back, also with a mesh smooth modifier applied.
The mouse was a small sphere scaled length ways and mesh smoothed. The desk chair is also a collection of box objects with mesh smooth applied.
For extra effect I added a bin under the desk, which I made by bevelling and indenting along with a mesh smooth.
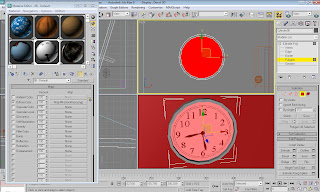
As the room is a bedroom I wanted to put some things on the wall to take up the bare space and make it appear lived in. I added a clock and two posters to the wall. The two posters were made by putting a thin box with an indented and extruded centre where the texture was placed, similar to the computer screen. The images used were items I had created myself, one poster being a fictional magazine I created and the
other being a photograph of a book taken close up.
The wall clock was done in the same way only using a thin cylinder instead of a box. I found the texture for the clock on the internet.
The next scene in the ident was to show a spaceship flying through the computer and crashing into the computers motherboard at the end.
I made a tunnel out of a hollowed out box object, turning the object into an editable poly allowed me to change the shape of the tunnel, making it narrower towards the end. placing a plane underneath the tunnel to close it off completes the initial shape.
Inside the tunnel to make it look like the insides of a computer, I created odd blocks, fans and cables with custom textures I made myself, or downloaded from the internet. Also on the plane and tunnel object I applied the third party plug in "Greeble" to create notches and panels along the walls and floor to make it appear like a computers insides. Detail about the "Greeble Plug-in" can be found in the
evaluation of my first ident.
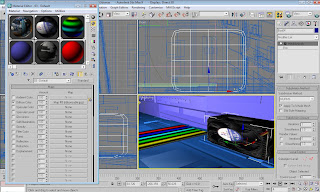
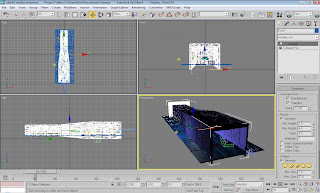
I found a good hi resolution photograph of a computer's motherboard I used as a texture for the polygon at the end of the tunnel, where the spaceship will crash in to. I resized the image within Photoshop and added the "Technology Channel" title as well. when applying the texture I used a UVWMap modifier to have more control over the size and parameter's of the texture.
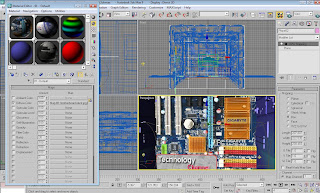
The hardest part of creating this scene was lighting everything as I wanted. This was made difficult because everything was inside a tunnel. Applying shadows to the lights became impossible due to large amounts of unrealistic shadows covering large parts of the tunnel or completely turning the screen black.
I used a target spot light as a base and used some omni lights within the tunnel itself. The omni lights I turned green and resized the brightness and the attenuation so they only lit up themselves as small lights rather than lighting the whole scene. Using the time line I was able to turn the lights from green to red once the spaceship has flown through the end of the tunnel and caused the explosion.
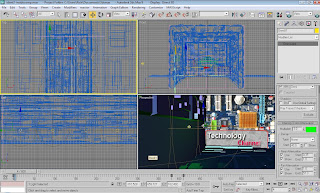
The final part of the scene was to create the spaceship that was going to fly through the bedroom into the computer, fly through the tunnel and into the end motherboard texture.
The spaceships body was made using the pen tool to mark out the shape and turned into an editable poly to extrude the shape into 3D. The booster sections at the back end of the ship were made by indenting the polygons and bevelling the polys backwards. The cockpit area was a box object reshaped and a mesh smooth modifier applied.
The texture used for the ships body is a texture I found on the internet which I thought would look good as the ships body. I applied a UVWMap modifier on the spaceship to get the texture to look correct. The parameters were changed to "box" and the U and V tiles changed to 2.0
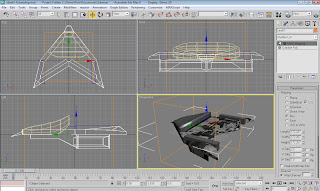
I imported this object into the scene and animated it via the time line to fly to the end of the tunnel. From this point I added a particle emitter "snow" which would look like a digital explosion within the computer. Under the parameters I changed the render count of particles to 390 and the flake size to 5.0 as I wanted there to be quite a lot, but not be too big to take up the entire screen. The 'start' and 'life' options make the particles start emitting depending on the frame number.
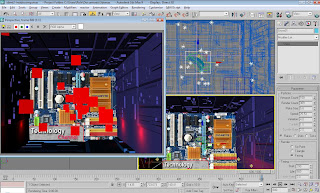
The last scene of the second ident shows the camera zooming out of the computer back into the bedroom. The computer starts to set on fire and the computer screen shows a blue screen error message. The computer screen then sets on fire. I changed the background sky picture in this scene as well to indicate some time had passed.
I placed a snow particle emitter inside the computer and turned it upwards to it would shoot the particles towards the sky. I then changed the parameters, such as the size of the flakes, and the shape and colour to make it appear as fire. I then changed how long and how big the particles would become over a set amount of time.
In the material library I created the texture of the fire and smoke by changing the parameters under diffuse colour, specular colour, specular level, self illumination and opacity, all with particle age maps.
Within these maps I was able to add noise and gradient maps to create a realistic fire colour and texture, also to make the fire turn to smoke as it went higher.
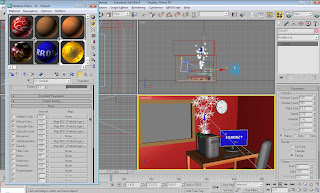
For rendering I changed the default render to 'mental ray' rendering as this gave a much clearer and more defined render with ray traced shadows turned on.
No comments:
Post a Comment