Today I learnt how to animated objects within 3Dsmax using the timeline.
I learnt how to use the auto key mode on the timeline to allow the program to set keys within the timeline automatically. There is also a set key mode where you can manually set the key frames on the timeline for a more precise control over the animation.
Which is better for more detailed animations.
Along with adding keys I also learnt how to edit key frames on the timeline, such as copying, deleting and moving. By holding the shift key and selecting keys you can then move and copy the key frames to another part of the timeline, and if you wish to delete certain frames you just have to right click and choose the delete option.
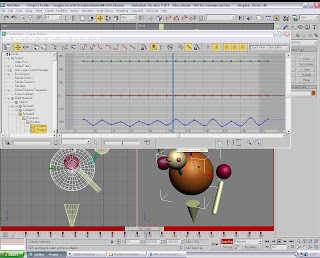
There is also the Curve editor within 3Dsmax to edit the objects movement in real time whilst the animation is playing. This is a particularly good way of changing the animation and making it flow more naturally. Or you can add steps which can make an object within the animation idle for a certain amount of time.
The doll sheet is another method of editing current animations, this method is effective with lip syncing in particular.
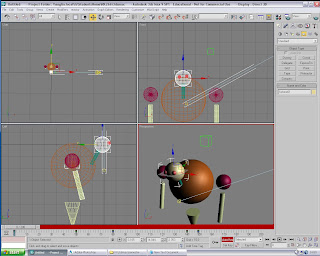
I learnt about a feature within 3Dsmax which allows you to add dummy objects to the stage area. By linking an object within your animation to the dummy object you can move both objects at the same time. The dummy objects are non render able.
The dummy objects are great to use when dealing with complicated objects such as characters when some parts are difficult to access, so by linking them to a dummy object you can manipulate the object with ease.
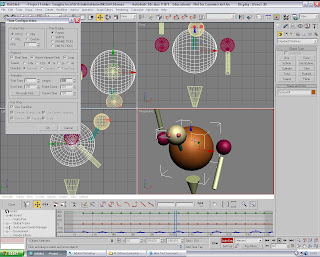
I was also shown how to change the timeline and render settings, so I can change the frame rate, the amount of frames on the timeline (default of 100), and the output file/codec/format.
How I Created My Model and Animation
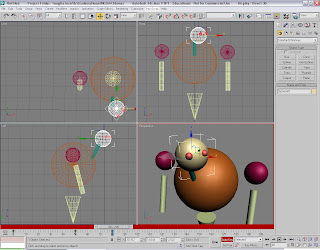
The model itself is made up of very basic shapes made up to look like a character/animal thing that can dance a bit.
I used the schematic view and the link tool to link different parts of the model together to make it easier to animate. Such as the arm parts to the shoulder parts and the eye models to the head model.
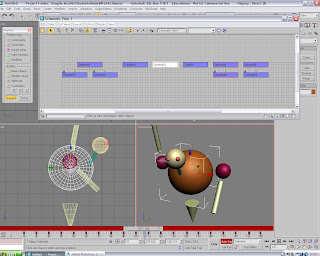
I turned on the auto key feature to move the different parts together to make it appear as if the model is dancing and waving its arms around whilst bouncing up and down.
The curve editor was also helpful in editing the different objects animations.
I added 2 lights to the scene to light the model properly and added a camera which swings around the character as it dances. I added the key frames manually for the camera.
No comments:
Post a Comment