To begin creating my spaceship I first researched what sort of ship I wanted to create. I preferred the idea of a large ship rather than a smaller fighter-like ship.
I began creating the main body and hull of the ship by using the pen tool to mark out the initial shape, then by converting the shape into an editable poly I could extrude the shape into a full body. I cloned this shape and scaled it smaller and placed this shape in front of the main body. I did this again to create the cockpit area of the spaceship.
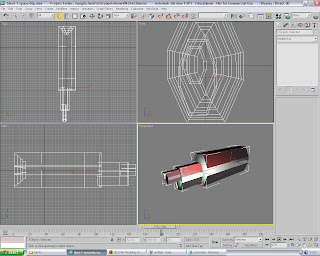
For the back end of the spaceship I selected the polygon and indented it, then bevelled it several times to create the spaceship's rocket exhaust area.
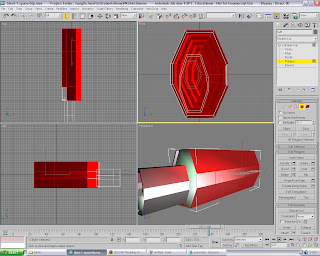
With the basis of the ship complete, I needed to add more detail and odd bits to the object to break up the basic shape of the ship. I created two cylinders with fewer segments to make the object less round and turned it into an editable poly where I indented and extruded the front polygon back slightly and applied a smooth modifier. I placed a four of these along the side of the spaceship to add more detail.
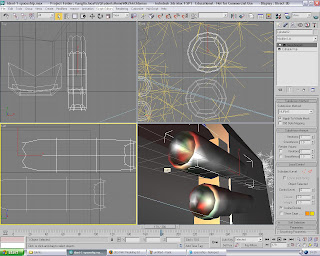
I then added other different parts to the ship to make it appear more futuristic and space-like by creating objects with either the pen tool or by editing polys on basic shapes.
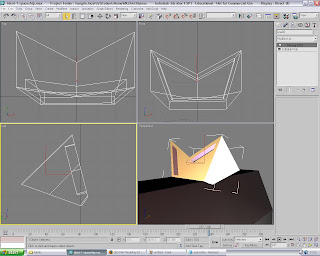
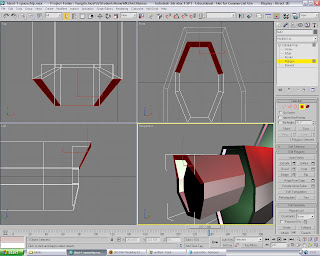
Now that the spaceship structure had been complete I was able to texture and light the ship. As I wanted the ship to look futuristic and space-like I wanted some colourful lights in different areas of the ship. This also helped in breaking up the metallic look and shape of the object.
I got the lighting effect I wanted by using several omni lights in specific areas with a target spot light as a basic background of light. I turned the shadows off on the target light editor because the ship would cast an unrealistic shadow on the background image.
I added several omni lights to the scene and placed them in the positions I wanted. I selected shadows to be turned on and to use Ray Traced Shadows. also, under the intensity/colour/attenuation menu I changed the multiplier to 2.5 because I wanted the colour to be quite bright. The colour was set to dark green.
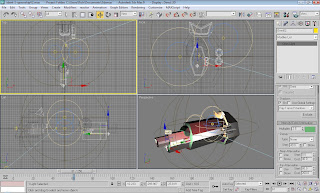
For the ship I wanted a metallic/chrome effect texture, as I thought this is conventionally the standard colour for spaceships and it will create a good contrast with the omni lights. I added the materials "Black Plain" and "Chrome Fast" for the spaceships body.
Finally to finish the texture and detail of the ship I wanted to add an image of a spaceships body to my object, however I came across a 3rd party plug-in for 3DS MAX 8 which allows the user to add small or large panels and small widgets to an object via a modifier. The plug-in named "Greeble" was available freely from the 3rd party's website (http://www.cgindia.org/2006/11/download-greeble-r9-plug-in-for-3ds.html) and shows various examples of how the plug could be used Specificity in architectural modelling, buildings/cityscapes/armour plating for example.
I applied the "Greeble" plug-in to my own model and tweaked the various settings, from the minimum and maximum size of the panels and the smaller more detailed widgets. Furthermore by increasing the density under the menus properties I was able to create a much more detailed and realistic texture on my spaceship. However the higher the density the higher the rendering times and processing power needed becomes.
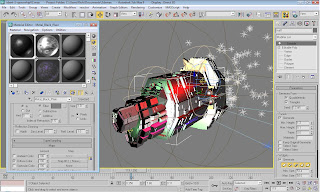
The last part of creating the spaceship involved making the exhaust/flames that would power the ship. I set up a "snow" particle emitter at the rear end of the ship so the particles would emit out of the exhaust area I had created previously.
Inside the particle emitter's properties I changed the render count to 458 to create a lot of particles. I changed the flake size to 15.0 so they were quite large and would look more like flame and smoke. I also tweaked the speed and variation slightly.
the longest aspect of the particle emitter was creating the texture to put on it. I wanted the particles to have a blue/white texture to them as it is more space-like than red flames.
The texture consisted of created particle age maps on the diffuse colour, specular colour, specular level, self-illumination and opacity maps. Inside the first two particle age maps I set the colour with noise maps. For the remaining particle age maps I set gradient maps inside.
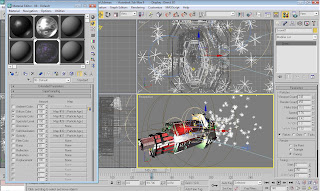
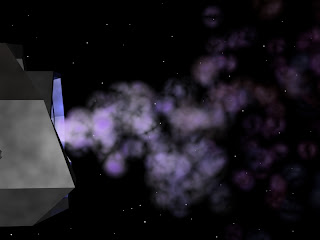
To finish the spaceship scene I added a background created within Photoshop of black space and some stars, along with a camera to animate around the ship.
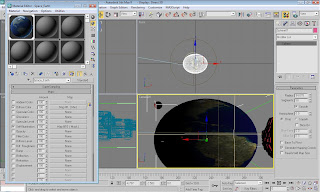
The next part of the ident was to have the spaceship flying towards planet earth. This was created quite quickly by creating a large sphere with a planet Earth material texture placed on it.
A smaller sphere set behind the largest sphere with a red glow. This sphere is meant to be Mars, or any smaller planet/moon as its primary focus is to add depth to the scene.
I added a target spot light to shine on the top half of the planet earth rendering the rest black. I felt that this gave the scene a more detailed and realistic shadow.
The final scene in the ident involves the spaceship falling from the sky and crashing into the water.
As I wanted the spaceship to react with falling into water realisticly I experimented with the water reactor modifier under the reactor menu. This creates a plain of "reactable" water along with a menu of settings to modify. I increased the length and width of the water plain to make it larger, along with increasing the amount of segments. I also set the depth of the water, so when my spaceship falls into the water it will sink and not float along the waters surface.
There are different properties such as ripple, waves, viscosity and density. As I wanted a large reaction from the water I changed the properties to be quite high. Setting the minimum and maximum ripple options at 200 and 400 respectively, viscosity at 8.0, wave speed at 350, density at 3000 and the depth at 1000.
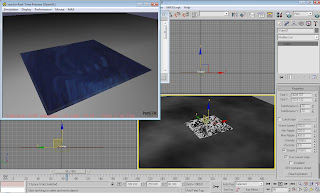
When my spaceship was imported I added the rigid body reactor to the spaceship and made my spaceship as a "bounding box" under the parameters menu, as well as changing the weight of the ship. When the animation was previewed I was able to see how it would look so I could go back and change the waters parameters to react differently.
Creating the animation converts the reactor animation onto the time line and no longer allows you to tweak the details. One problem I had in particular was getting the water to show up when rendered, because the water plain becomes invisible. It also doesn't allow you to apply a texture to it. The solution was to create a normal plain from the objects panel and set the parameters to the same as the water plain, height, width, segments etc. Apply the desired texture to the new plain and then "Bind" the two plains together using the bind tool. This allows you to view the water reacting in the render window as it would in the preview animation window, along with a more realistic texture.
The rest of the landscape was designed by creating a third plain. Making it much larger in width and length to give the effect of a large lake, with the same texture applied as the water reactor plain. The landscape around the lake was created in Photoshop by starting a 1000 by 1000 pixel, black image, and using a soft white brush going round the edge of the image painting in white. Once
in 3DS MAX the white areas will be seen as the areas to raise.
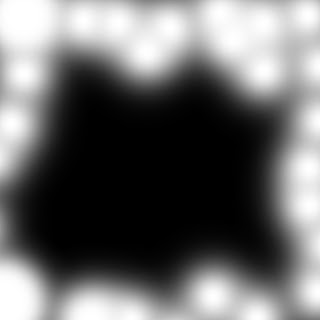
I created another plain and selected a high amount of segments for higher detail. With the displace modifier applied, I could attach my Photoshop image and then raise the "Strength" to make the white areas raise up, creating the surrounding area around the lake. I applied a mesh smooth modifier on the landscape to make it more rounded rather than edgy. A grass texture was then applied to the landscape and placed in position around the lake.
To finish the scene I placed a target spot camera to point at the lake with shadows off. I turned the shadows off because there was no real visible difference with them on, also this increased the render times substantially.
Finally I added a background image of bright sky and clouds under the rendering tab to complete the scene. For rendering out the animations I resized the camera size to 800 by 600 and left the default renderer as it was.
No comments:
Post a Comment